Showing posts with label gifts. Show all posts

Friday, November 23, 2012

Etsy Sale!


Having a holiday sale in my Etsy Shop this weekend. 
Friday thru Monday will be a great time to browse around Etsy for the perfect gifts!

Here are the details for my shop: 
Friday-Monday get 15% off with code GOBBLE 

Come by and Visit!

Friday, August 3, 2012

Fire Escape Jam


My husband and I moved into Sunnyside a few years ago in the fall. Come spring time we noticed a lot of small, dark berries staining the sidewalks. In fact, the berries were growing from a tree in our backyard. My husband said his grandparents had an identical tree that he and his brother's ate from. I responded by saying, "DON'T EAT THESE BERRIES! THEY MIGHT BE POISONOUS." Well, turns out they aren't poisonous. They are called Mulberries and they have a sweet, tangy flavor.


The first year I looked for recipes to cook with them. My pastry chef friend, Briar, suggested a clafoutis and jam. I made this clafoutis...which was yummy! Briar also helped me come up with a killer jam combo: Mulberry, Strawberry and Rhubarb. It is so delicious! This is my third year making it and it has even stirred a little following among my friends.

I use all the instructions that come with the pectin. I don't have a food mill, so I leave the seeds and mulberry steams. It is more like a preserve style.


Below is what you will need for a small batch of this jam next year. And some pictures!

Follow the instructions very carefully when you are canning!

And if you've never had rhubarb before- ONLY use the stalks. The roots and leaves are poisonous to eat.

This jam is delicious and makes a great homemade gift!

Fire Escape Jam

Ingredients:

2 cups Strawberries
2 cups Mulberries
2-3 Stalks of Rhubarb (only use the stalks)
1 cup honey
Pectin and calcium water (follow instructions of package. I use Pomona's Universal Pectin)


What you'll need for jam/canning:

Bowls
Masher or spoon to mash fruit
Measuring cup
Measuring spoons
Spoon for stirring
Pot for simmering Jam 

Canning Jars
Large pot for canning (I use my lobster pot)
Tongs
     (they make some for canning)
Rack for bottom of pot 
     (helps not to put jars directly on bottom of pot)

Simmering the fruit 
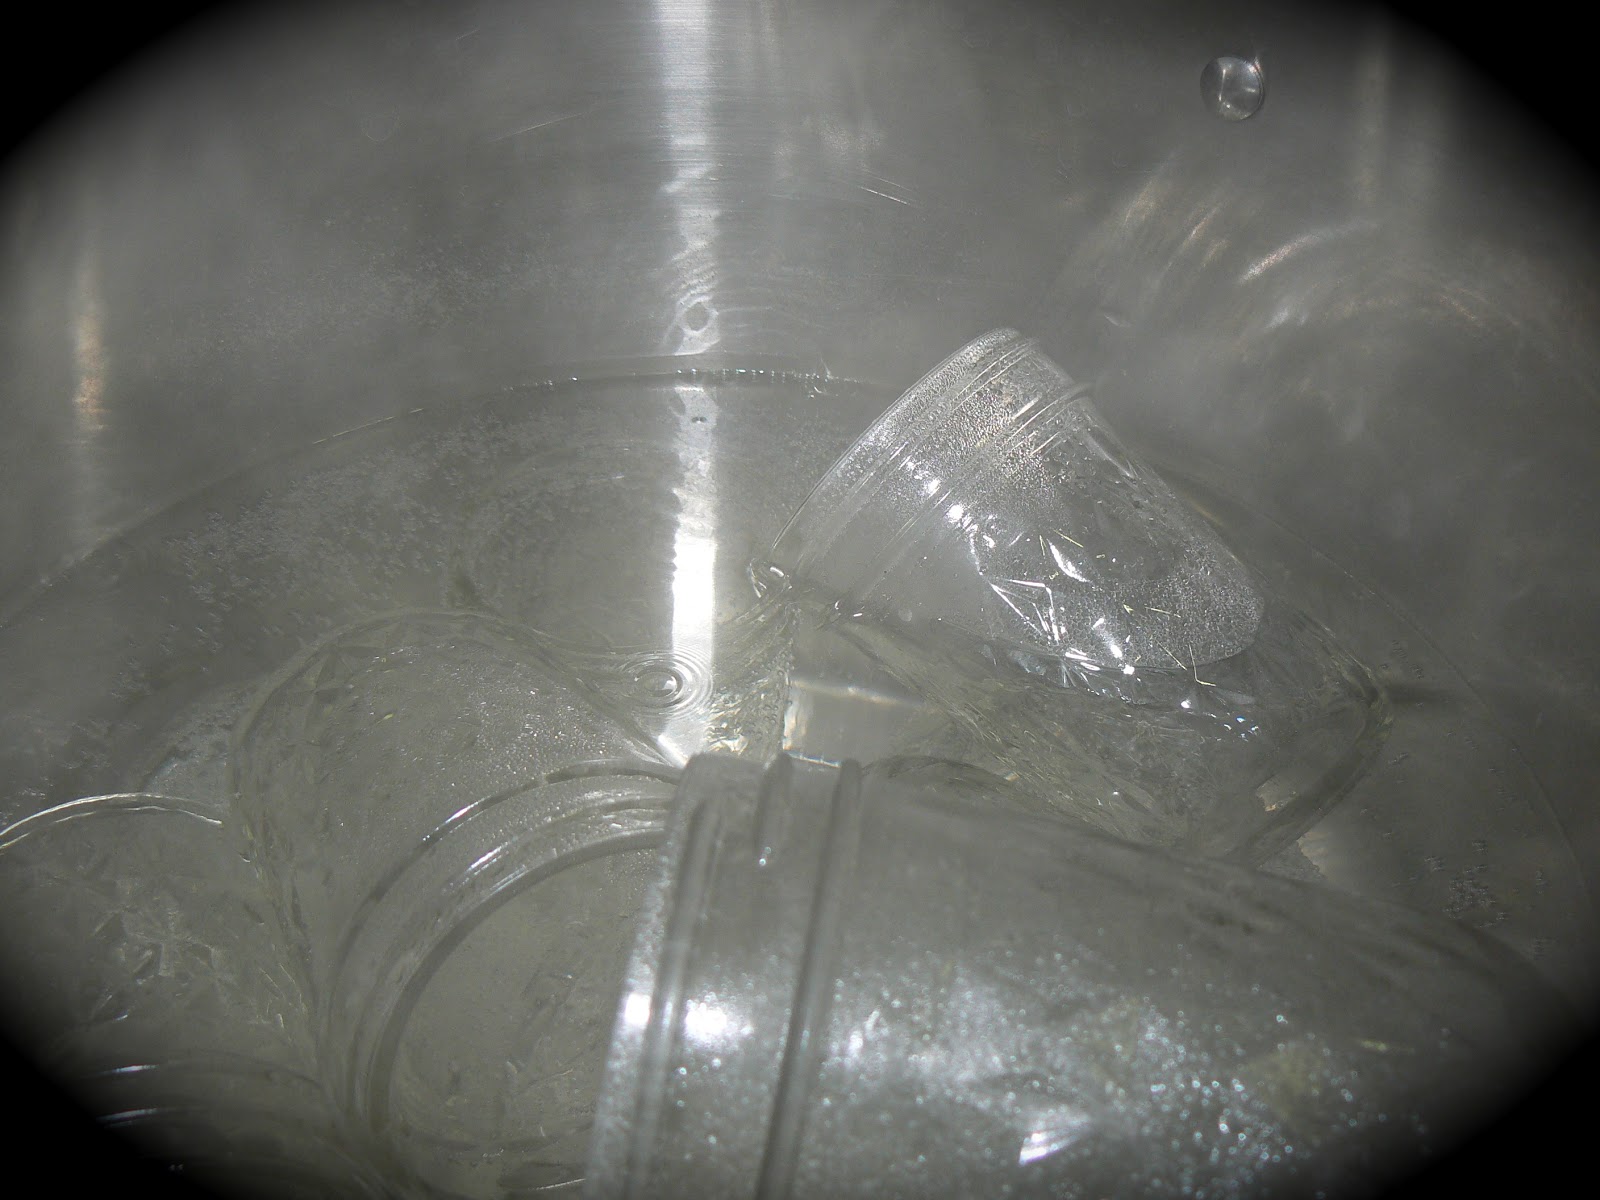
Boiling the Jars

Fire Escape Jam
Makes a little bit of a mess!

Wednesday, November 23, 2011

Martha Stewart Living: Wax Seals


I saw these wax seals in Martha Stewart Living, November 2011.
They used them in gift wrapping but they would also be great
on Wedding Invites, Holiday Cards, etc.
The seal wax is made to go in a glue gun!!! SO EASY!!!


  Image from Martha Stewart Living, November 2011


Tuesday, January 4, 2011

Bea's Christmas Gift

I had a little help making Bea's Christmas gift back in November. And I have to say that crafting with loved ones and friends is much more fun than crafting alone!


I knew that she was going to send out Holiday Cards to a long list of friends and family...so I made her return address labels. I didn't post because they have Bea's address on them, but I will tell you how I made them. I used Avery Return Address Labels to post Bea's address on each label. I centered her address all the way to the left, leaving room for decoration. We stamped her initials on some, Santa on others and we also used Christmas stickers! They turned out really cute (you'll have to trust me).

As a bonus, I used larger Avery labels to make Book Plates! Printed them up with this:

And them stamped them to look like this:

Thursday, December 23, 2010

Spoiler Alert: DIY Candles

Spoiler Alert: I'm giving these out to a couple people tomorrow! They aren't involved in the Secret Santa and I'm pretty sure they don't follow Cozy Rustic... so, it is safe to post....


About a year ago, I spied (with my little crafty eyes) tea cup candles in Martha Stewart Living and all over crafting blogs. They are so adorable! I mainly saw them with cups minus a saucer... and really...isn't it usually the tea cup that breaks first??? Anyway, as you may or may not know... I'm kinda crazy about recycling. So this craft seemed amazing to me! Because you could use leftover wax from old candles around the house and you use other things besides tea cups.. let your imagination run wild!


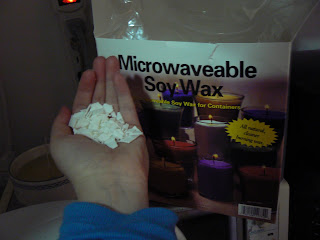
I did some research about the most Eco and easy ways to make candles. Soy Wax was the best way to go. This way there is no paraffin involved and the bees can take a break! The large box of wax was not that cheap... but I think it will make a lot of candles! And there are directions on the box!

What you'll need:

Two vintage bowls with saucers from Fishs Eddy
Wicks
Soy Wax


Bunny's Simplified Directions:

1) Clean bowls and let dry.

2) Fill the bowl with wax. Put in the microwave. Test in 30 Sec increments.

I eliminated pouring the wax into the bowls b/c the bowls were microwave safe. I had to guess about how much wax but I added more when I was off. It melted in my microwave in 1-2 mins.


3) Insert the wick right away.

Normally, you would pour in the wax to a container with the wick already in the container. But this was so easy and there were no air bubbles, wells or holes in the middle of the candle.

4) Let dry. This will take an hour or two.

5) Cut wick to desired length.

I recommend browsing other directions online or the box of wax. The wax should reach a certain temperature but my thermometer broke mid-craft so I didn't pay attention to temp at all. Hopefully... that doesn't make a difference!


Cork Wreath

Bunny here. Remember when Bea made that adorable cork wreath? Well, we both put the word out looking for corks and I got a bunch from Madame Marble... who then sent me an amazing picture of a cork wreath at Curbly. Thus I found Curbly (amazing blog!) and the inspiration to make this wreath! The tutorial on Curbly doesn't direct you to make the wreath they have pictured. So, I googled directions and found some amazing directions from Lolly Chops.


Bunny Tip 1: I highly recommend reading ALL the directions before you start! She has a tip at the end about saving corks with pretty designs for the last layer! And I wish I had done this.. but I made mine as I got corks in batches.


Bunny Tip 2: It does use a lot of glue in the glue gun... so make sure you are stocked up!


I gifted my wreath to Madame Marble for Christmas yesterday! I gave a gold ribbon with the wreath for hanging or decorating. And I can't wait to see where she hangs it in her home! The wreath drew some attention from shoppers in Despana's where we had lunch! And it seems impressive.. like it took a long time to make...but it didn't take long... and it was fun!


This wreath could not have been made without the generous cork donations of Bea, Madame Marble, Bea's bartender friend, AND Scott and Sarah.... I met Scott and Sarah at a party and after hearing about my wreath came back to the party with a bag of corks! Luckily, they lived down the hall! So, thank you!

Thursday, December 9, 2010

Bunny's Christmas Gift - A notebook of her own


This year, since we're getting into crafting, Bunny and I decided to make each other our gifts. I wanted to give her something practical, since she is planning her wedding for this summer, but I also wanted her gift to be attractive. Again, I wanted it to be budget friendly, too. I'm not ashamed to state on the blog that I was cheap with gifts this year. Bunny is well-aware that I'm frugal, and I think she's a wise enough gal to bee cool with it.

I wound up "making" Bunny a notebook for collecting thoughts and ideas relevant to her wedding and life in general, a journal, I suppose. Here's what I did.

Start with your basic run of the mill marble composition journal. They're around $1.50 pretty much everywhere, and are bound prettily (though you can't easily tear out the papers should you choose to do so).

Gather some beautiful paper. My go to store for this is Paper Presentation on W. 18th St in Manhattan.

Mod Podge. 'Nuff said.

Scissors.

I folded a piece of paper over the front and back covers of the notebook, covering about 2/3's of the outer surface. Then I Mod Podged this down. I cut a length of a different paper to cover the remaining 1/3 of the outer cover and Mod Podged it as well, being sure the edges met up evenly and that I was still able to open and close the notebook.

I found these awesome envelopes at Paper Presentation as well, and I placed one on the inside cover in the front and in the back, so Bunny can store coupons or tear-outs from magazines that she finds inspiring.

Finally, I found a nice letter "G" (you didn't really think her name was Bunny, did you?) in an old issue of Self and slapped it onto the cover.

I ran some embroidery floss around the loop ties of the front and back envelopes (see photos) so it wrapped around the whole cover of the notebook, and I slipped in a purple pen for notetaking.

Ta dah!


-Bea