
My husband and I moved into Sunnyside a few years ago in the fall. Come spring time we noticed a lot of small, dark berries staining the sidewalks. In fact, the berries were growing from a tree in our backyard. My husband said his grandparents had an identical tree that he and his brother's ate from. I responded by saying, "DON'T EAT THESE BERRIES! THEY MIGHT BE POISONOUS." Well, turns out they aren't poisonous. They are called Mulberries and they have a sweet, tangy flavor.


The first year I looked for recipes to cook with them. My pastry chef friend, Briar, suggested a clafoutis and jam. I made this clafoutis...which was yummy! Briar also helped me come up with a killer jam combo: Mulberry, Strawberry and Rhubarb. It is so delicious! This is my third year making it and it has even stirred a little following among my friends.
I use all the instructions that come with the pectin. I don't have a food mill, so I leave the seeds and mulberry steams. It is more like a preserve style.
Below is what you will need for a small batch of this jam next year. And some pictures!
Follow the instructions very carefully when you are canning!
And if you've never had rhubarb before- ONLY use the stalks. The roots and leaves are poisonous to eat.
This jam is delicious and makes a great homemade gift!
 Fire Escape Jam
Ingredients:
2 cups Strawberries
2 cups Mulberries
2-3 Stalks of Rhubarb (only use the stalks)
1 cup honey
Pectin and calcium water (follow instructions of package. I use Pomona's Universal Pectin)
 What you'll need for jam/canning:
Bowls
Masher or spoon to mash fruit
Measuring cup
Measuring spoons
Spoon for stirring
Pot for simmering Jam
Canning Jars
Large pot for canning (I use my lobster pot)
Tongs
(they make some for canning)
Rack for bottom of pot
(helps not to put jars directly on bottom of pot)
 |
| Simmering the fruit |
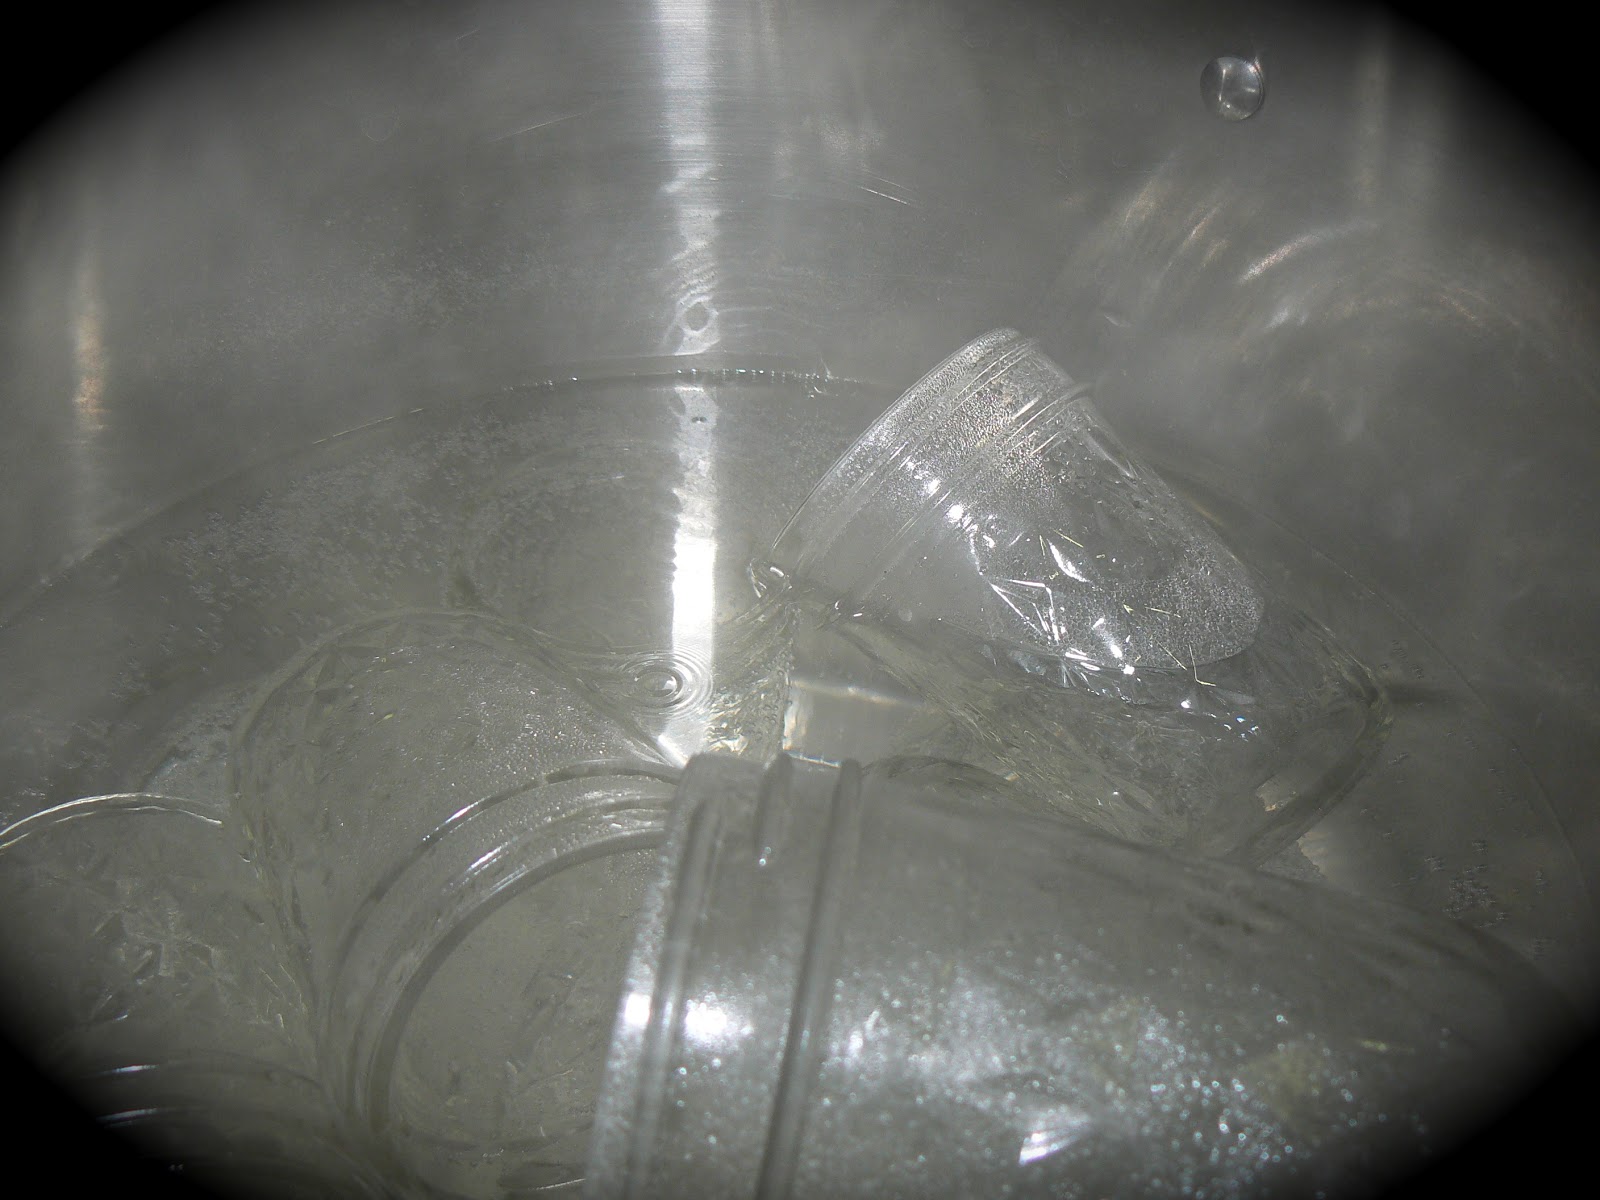 |
| Boiling the Jars |
 |
| Fire Escape Jam |
 |
| Makes a little bit of a mess! |


