Showing posts with label Recycle. Show all posts

Monday, April 30, 2012

United States of Magnets

The Puzzle
   Mr. Hulse and I were spring cleaning when we stumbled upon this United States puzzle. Some of the puzzle wasn't looking so great and Florida was missing. We tried to clean it up but it was beyond saving. THAT being said, some of the pieces were in great condition. And we decided to save some of the States to upcycle them into magnets!

I cleaned and dusted the pieces very carefully. With my trusty glue gun I attached a magnet to each state. (I had some magnets from a previous project and luckily they fit!) Here are the photos from the project. A few of these I'm keeping or giving to friends...but the rest will be up in the Etsy shop!

The salvaged pieces

States!
My Tools
Adding some glue!


Drying 


They came out looking so fun. New York and New England went right up on the fridge!


They fit right in!

Monday, November 21, 2011

Necktie Rabbit Ears


 Have you ever been to Books of Wonder on 18th st. between 5th and 6th? Well, it is one of the cutest children's bookstores. I performed there on Saturday as the March Hare in Alice in Wonderland with Haberdasher Theater. I was very excited to work on my costume and put together some inspiration on Pinterest and Tumblr. I was wondering how I would get my hands on some ears UNTIL the director handed me a pair of ties to add to my costume. When I looked at those ties... I saw ears!                     


 Necktie Rabbit Ears

What you'll need-

2 Neckties
1 Headband
Glue Gun and Glue
Strong Wire
Wire Cutter
Scissors
Pen, Chalk or Fabric Marker
Seam Ripper


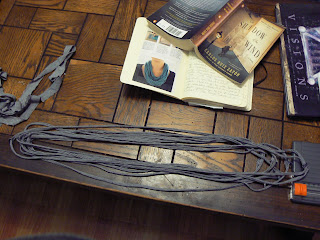
I bought two matching neckties from a thrift store. I picked very long ties for the extra fabric. I used materials that I had around the house for assembling these, but you could get as high or low tech as you desire. I made these ears quite quickly and took lots of photos!


First decide how long you would like the ears and cut! I cut them a little bit longer than I wanted them in case of error and for attaching. We are using the Front end of the tie for the ears.


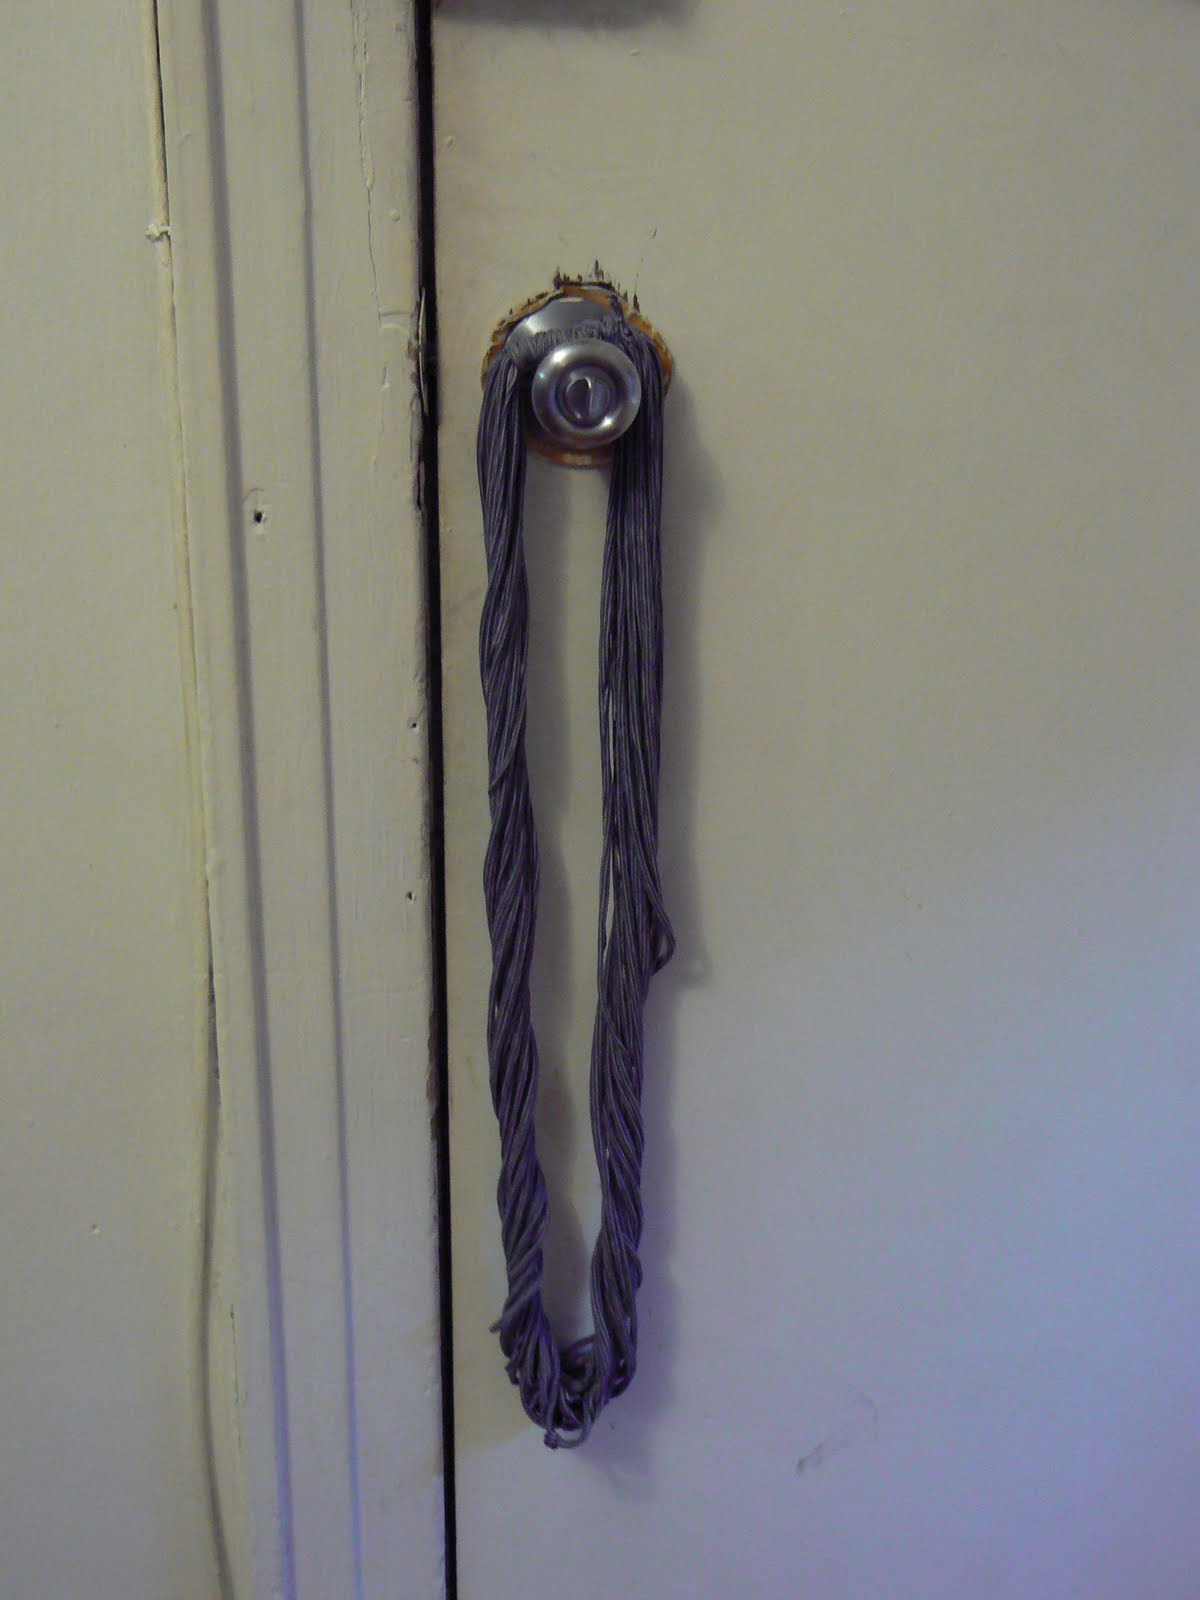
With the small back end of a tie I covered my pink H&M headband. Great thing about this tie
was that I could just slip it on!


I hot glued one side of the necktie at the end for a secure fit. 
I left the other side free in case of error.


Next I wired the ears. I measured out a length of wire and trimmed it. I then threaded the wire through each ear. There are two ways to do this and I tried both. The tie lining allowed me to show the wire in the back or to not show it (keeping it hidden within the lining of the tie). I hot glued both into place.


Attaching the ears to the headband was the hardest part. 
With a marker I noted where the wire would attach and proceeded to rip the seams of the tie attached to the headband. I then pulled the ears through and was able able to twist them around the headband to keep them secure. I finished up with some hot glue on the wires and to seal up the headband.


And Ta Da! Here is how they turned out. 

What do you think??


Thursday, December 30, 2010

T-Shirt Necklace. I made. I wear!


Once upon a time, The Martha Stewart Show was on basic cable. She was on basic cable and I watched her make a t-shirt necklace with Queen Latifah. I was impressed at this easy, adorable and craving worthy craft. I was then reading Whole Living and saw the instructions for the necklace. I cut out the instructions and taped it into my journal. A year goes by and I see t-shirt necklaces on blogs and on Etsy.

Last week, my favorite polo shirt ripped. I was going to recycle it with OROE in Union Square on Monday but had the brilliant idea to finally make a necklace with it!

What You'll Need-
T-shirt Scissors (or a rotary cutter)
Ruler

Follow the directions on the Whole Living Site (link is above). I used scissors and it went very quickly.

Bunny Tips:

1) I just saw a comment on the site about stretching the loops all together instead of individually. I stretched individually and I have a couple that don't match up. So I recommend stretching all the loops together.
2) It wasn't specific about if you should wrap extra fabric over BOTH ends of the seems. There are seems on each end of necklace. I only did one and it looks fine when I wear it long or doubled.

3) I also thought about making bracelets with the sleeves! It would look cute to wrap up both sides of the seems at the end I think!

4) Why not recycles leftover fabric scraps? If you live in NYC you can bring it to the Office of Recycling Outreach booth at Union Square on Mondays!


Thursday, December 23, 2010

Cork Wreath

Bunny here. Remember when Bea made that adorable cork wreath? Well, we both put the word out looking for corks and I got a bunch from Madame Marble... who then sent me an amazing picture of a cork wreath at Curbly. Thus I found Curbly (amazing blog!) and the inspiration to make this wreath! The tutorial on Curbly doesn't direct you to make the wreath they have pictured. So, I googled directions and found some amazing directions from Lolly Chops.


Bunny Tip 1: I highly recommend reading ALL the directions before you start! She has a tip at the end about saving corks with pretty designs for the last layer! And I wish I had done this.. but I made mine as I got corks in batches.


Bunny Tip 2: It does use a lot of glue in the glue gun... so make sure you are stocked up!


I gifted my wreath to Madame Marble for Christmas yesterday! I gave a gold ribbon with the wreath for hanging or decorating. And I can't wait to see where she hangs it in her home! The wreath drew some attention from shoppers in Despana's where we had lunch! And it seems impressive.. like it took a long time to make...but it didn't take long... and it was fun!


This wreath could not have been made without the generous cork donations of Bea, Madame Marble, Bea's bartender friend, AND Scott and Sarah.... I met Scott and Sarah at a party and after hearing about my wreath came back to the party with a bag of corks! Luckily, they lived down the hall! So, thank you!