
It has been so long since I've blogged. Apologies all around my crafty friends.
You can see what I've been up to here: Wedding Invitations on Vintage Hankies. This was in some ways less, and some ways more, of an undertaking than I thought it would be. Thank you to all my friends and family who helped!
You can see what I've been up to here: Wedding Invitations on Vintage Hankies. This was in some ways less, and some ways more, of an undertaking than I thought it would be. Thank you to all my friends and family who helped!

I got the idea from seeing Hankie invitations in Real Simple and from Bird and Banner. I had a couple of vintage hankies myself and thought, "HOW CUTE!" I became obsessed with the idea and HAD to do it... even though it seemed too expensive, too complicated, etc. After careful consideration, Justin and I decided this would be something special to send people. I was worried they wouldn't be as stunning as Bird and Banner's, but I hoped for DIY adorable!

I used the tutorial from The Wedding Chicks as a starting point. I think their method really is the way to go. Definitely think about your budget and how you will mail these BEFORE you start. Hopefully, these steps and tips will help you. I think I figured out a great way of using iron on transfers for dark fabric! You DON'T need hankies that are BLANK in the center!!!! You don't need them!!! You can use just about any hankie!!! Even ones that are thin, dark and covered with flowers!!!
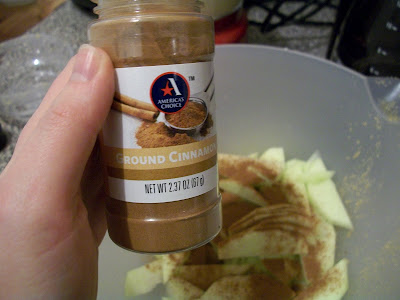
What you need to make these lovelies:
Vintage Hankies
Lint Roller
Iron on Transfers
Iron
Pillow case
Vintage Hankies
Lint Roller
Iron on Transfers
Iron
Pillow case

Step One: Find your Hankies
Wedding blogs say this is the hardest part. It does take quite a bit of thrift store searching, so give yourself a couple of months. I found mine at two thrift stores, The Brooklyn Flea, The Chelsea Garage and Etsy. I collected enough for 150 guests. Make sure you have enough, because everyone will want one!
Bunny TIP
Be flexible. I bought a variety of hankies and not all of them were in mint condition. We bought some with beautiful patterns, even if they had small holes or tears. These were usually marked down as well.
Buy Vintage. There are some sellers out there selling "vintage like" hankies. Help out the planet people and buy second hand!
Step Two: Create a Template
The Wedding Chicks have an Invitation Suite that is free to use! I really loved it. The look was beautiful. I do recommend having a couple sets of eyes look over your template in case of spelling errors...which I made on my blue template...

Step Three: Print your Template onto Iron on Transfers
Follow instructions that come with your transfers. You may have to invert the image!
Bunny Tip
Make sure you research Iron On Transfers before buying. Find which ones will work best for your hankies, based on pattern and thickness. I tried a generic brand from Michael's and two Avery brand transfers. The generic brand from Michael's for Light Fabric (8x11) was great, though it did bleed on some of my thinner hankies. The transfers for light fabric must be used on a thicker hankie that has a blank center. My favorite was Avery brand for dark fabric (4x6). It has a white background so you can use it on any Hankie and it won't bleed. You also do not have to invert the image and it is a great size for mailing.
 Step Four: Prepare your Hankies, Iron on area and Iron on Transfers
My dear fiance made a Iron-On area with a pillow case clamped to a table. It worked out perfectly! Iron the pillowcase to make sure it is wrinkle free. I washed, steamed and ironed all my hankies to get them ready. Then I lint rolled them. Lint will show up encased in the Iron on Transfers... I trimmed my iron on transfers with a paper cutter, sometimes scissors or just a corner rounder.
Here you can see my talented friend Amanda from The Disney Chick making some invites! She was really good at it!!

Step Five: Iron on
Follow your packet's instructions on how to iron on. Many include peeling paper and ironing through tissue paper (provided).

Step Six: Prepare them for the mail!
My mailing envelopes and tips will be in Invites Part II this week!
All photos belong to Briar Winters from Marble and Milkweed. If you would like to re-blog or use any of the pictures, email us at cozyrustic@gmail.com for permission.


